Beautiful Plants For Your Interior

How to Service a Petrol Strimmer – In 6 Easy Steps
In this post, we’ll guide you through the basic processes of ‘How to Service a Petrol Strimmer’ from cleaning and maintenance to troubleshooting some common problems.
Petrol strimmers are essential tools for keeping your lawn and garden in top shape. They make trimming and edging easy, allowing you to maintain a neat and tidy lawn. But like any other machine, petrol strimmers require regular maintenance to keep them in top condition.
Before you start servicing your petrol strimmer, you’ll need to gather the following tools and materials:
- Socket Set
- Wrench Set
- Screwdriver Set
- Clean Rags
- A Can of Lubricant Oil
- Replacement Engine Oil
- A Funnel
- A Fuel Filter
- A Spark Plug
- An Air Filter

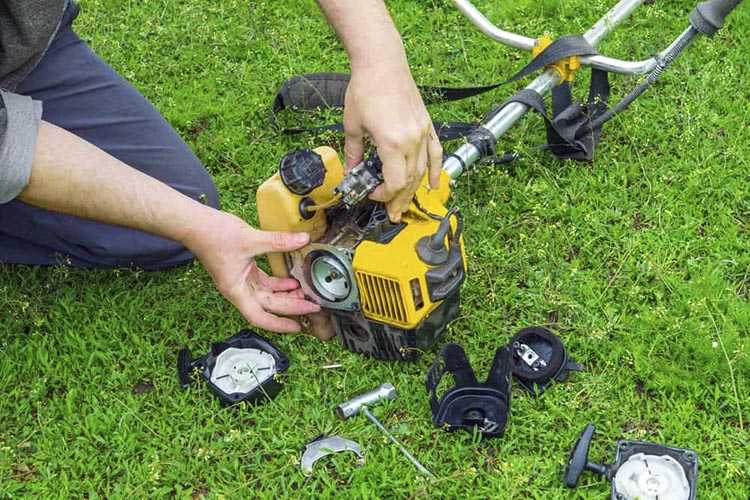
How to Service a Petrol Strimmer – Petrol Strimmers Require Periodic Maintenance
Preparation
- Read the manual. Before you start servicing your petrol strimmer, it’s important to read the manual. This will provide you with the manufacturer’s recommended procedures and guidelines for servicing your specific model.
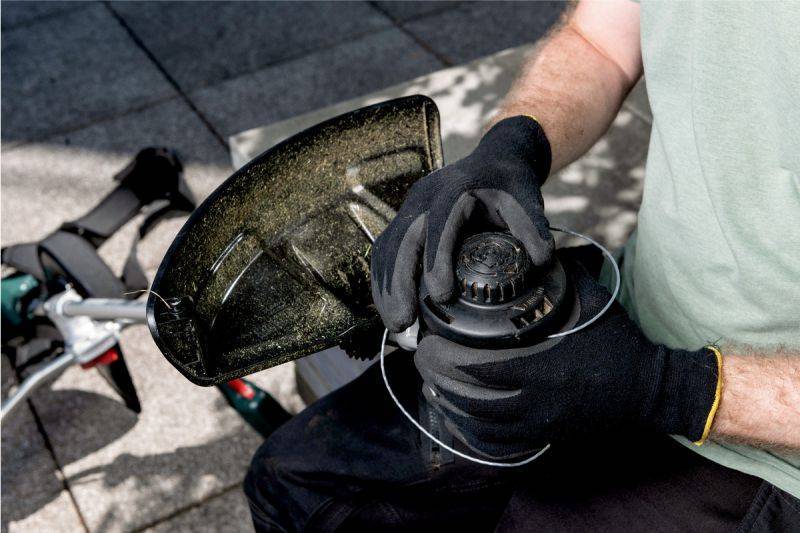
- Clean your machine and work area. Before you begin, it’s important to have a clean machine. Blow off any dust and debris around the engine and engine cover. Always clear away any old grass clippings around the ‘trimming’ mechanism.
- Finally, organise your workspace. This will make it easier for you to access the various parts of your strimmer, and will also prevent any dirt and debris from contaminating the engine when it’s open.
Step 1: Change the Engine Oil
The first step in servicing your petrol strimmer is to change the engine oil. This will help to keep the engine running smoothly, and will also help to extend the life of your strimmer. To change the engine oil, simply follow these steps:
- Locate the oil drain plug and remove it, (Your User Manual).
- Drain the used oil into an old empty container. Dispose of it carefully.
- Replace the drain plug and fill the engine with the correct fresh clean oil.
- Check the oil level (with a dipstick) and add more if needed.
Step 2: Clean or Replace the Air Filter
The air filter helps to keep dirt and debris out of the engine, so it’s important to keep it clean. To clean or replace the air filter, follow these steps:
- Locate the air filter cover and remove it, (Your User Manual).
- Remove the air filter and inspect it for dirt and debris.
- If the air filter is dirty, wash it out with hot soapy water, (it’s normally foam or similar) then dry it with a clean rag. If it’s beyond cleaning, replace it with a new one.
- Reinstall the air filter and air filter cover.
Step 3: Replace the Spark Plug
The spark plug helps to ignite the fuel in the engine, so it’s important to keep it in good condition. To replace the spark plug, follow these steps:
- Locate the spark plug and remove it, (Your User Manual).
- Inspect the spark plug for damage or wear. It may be ‘crusty’ around the sparking area. Try and clean it with a wire brush.
- If the spark plug is worn or damaged after cleaning, then replace it with a new one.
- Reinstall the spark plug and tighten it securely.
Step 4: Clean or Replace the Fuel Filter
The fuel filter helps to keep dirt and debris out of the fuel system, so it’s important to keep it clean. To clean or replace the fuel filter, follow these steps:
- Locate the in-line fuel filter and remove it, (Your User Manual).
- Inspect the fuel filter for dirt and debris.
- If the fuel filter is dirty, clean it with a clean rag. If it’s beyond cleaning, replace it with a new one.
- Reinstall the fuel filter and tighten it securely.
Step 5: Lubricate the Moving Parts
Finally, before reassembling your strimmer, it’s important to lubricate the ‘moving’ parts like bearings etc.. of your strimmer, to keep them functioning smoothly. Use a can of ‘lubricant’ oil and a funnel to add oil to the strimmer’s moving parts, making sure to cover all the gears, bearings, and other moving parts as recommended by the manufacturer, (Your User Manual).
Step 6: Reassemble the Strimmer
Once you’ve completed all of the steps above, it’s time to reassemble your strimmer. Put the fuel line back together, reconnect the spark plug, and make sure all of the bolts and screws are tight. Start the strimmer and check for any leaks or problems before using it.
By following these simple steps, you can service your petrol strimmer for optimal performance. Regular maintenance will help extend the life of your strimmer and ensure that it’s always ready to tackle any job in your garden.
How to Service a Petrol Strimmer – Five (5) Maintenance Tips
FAQ’s
How Often Should I Service My Petrol Strimmer?
It’s recommended to service your petrol strimmer at least once a year, or more frequently if you use it frequently or in dusty conditions.
What Should I Do If My Petrol Strimmer Won’t Start?
Check the spark plug, fuel filter, and fuel lines to ensure they are clean and undamaged. If the issue persists, consider taking your strimmer to a professional for repairs.
Can I Use Any Type Of Fuel In My Petrol Strimmer?
No, you should always use the recommended fuel/mix for your strimmer. Check the user manual or contact the manufacturer for guidance
Conclusion
Regular maintenance is key to keeping your petrol strimmer running smoothly and reliably. By following the steps outlined above, you can clean, maintain, and easily troubleshoot your petrol strimmer yourself, to ensure your strimmer is always ready and functional when you need it.
Please remember to always follow safety guidelines when working with petrol strimmers and use the right tools for the job as we described above. With a little care and attention, your petrol strimmer can provide you with years of reliable service and keep your lawn and garden looking their best.
However, don’t hesitate to seek professional help if you encounter problems that you are not comfortable fixing yourself, I often do. By taking the time to service your petrol strimmer correctly, you can enjoy the benefits of a well-maintained and efficient tool.
